Here I will show you how to create and arrange a frame wall. You can use all the one color as I have or mix up colors and contrasting frames.
I decided to keep it plain and go for black to keep the focus on the photos that I plan to have all in black and white.

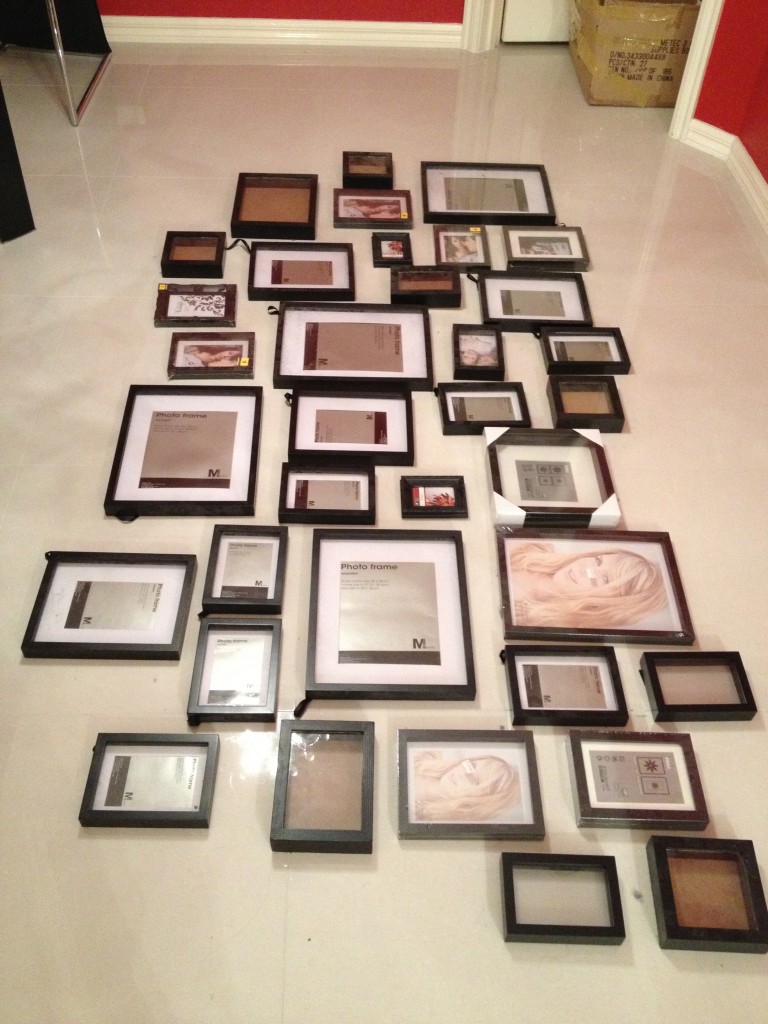
The first thing you want to do is lay out all your frames on the floor and work out how you want it to look. This might sound easier then it actually is! I got so fussy and OCD about it. I suggest to take photos as you arrange it and hold it upright to make sure you like it. Another suggestion is don’t put too many bigger frames in the middle as it draws your focus to that point and it can look unbalanced.

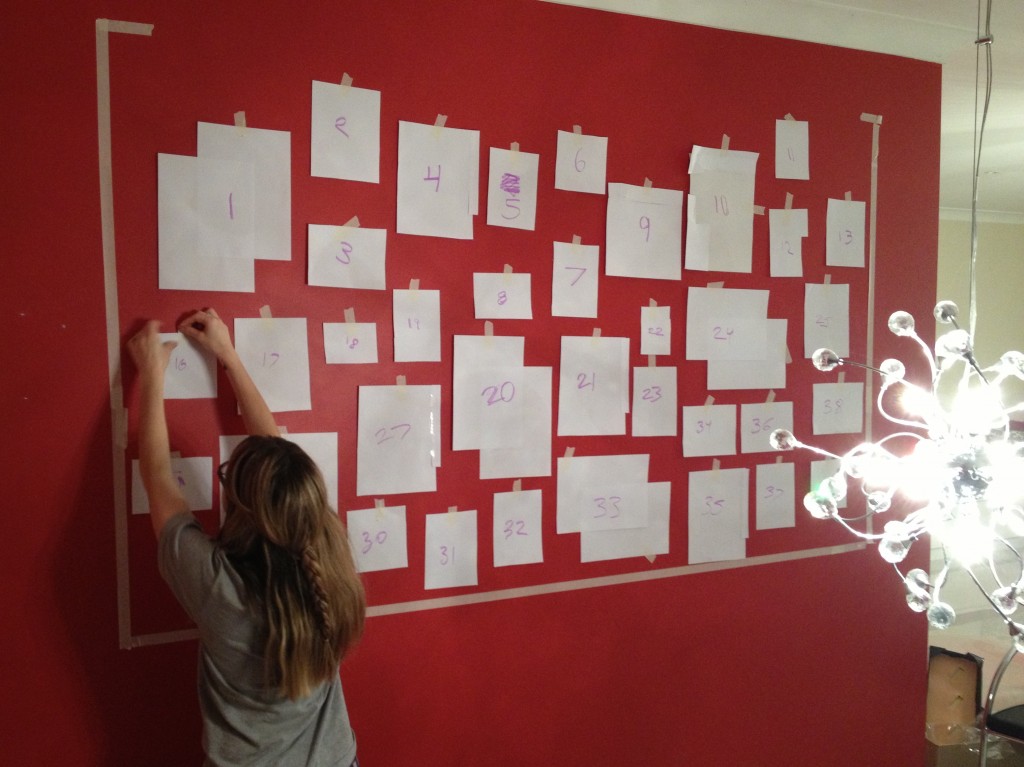
Once your happy with the look, cut out pieces of paper the size of each frame and number them (I told you… OCD!). Next, measure the outer perimeter of the frames making sure you measure the outside of the highest frame on each side. Now with masking tape, measure this ‘box’ out on the wall. This becomes your ‘space’ for the frames.

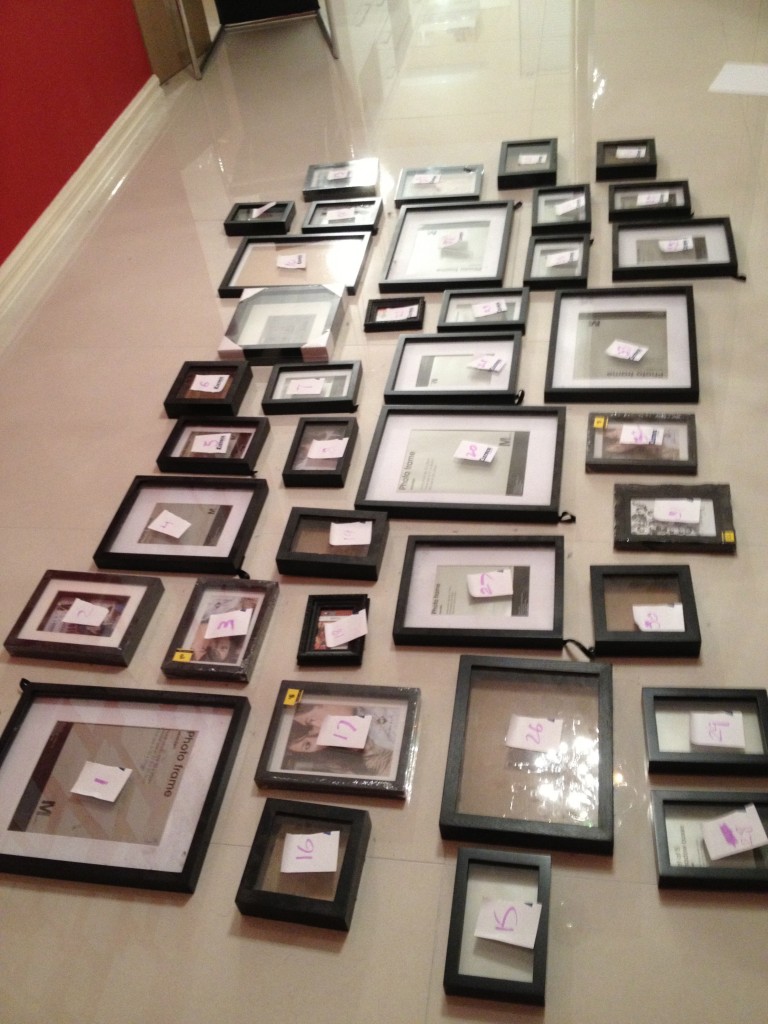
Now you will work on placing them in the right position. One at a time, place the numbered papers on the wall and as you do put a small sticky note on that frame with the same number so you can match them up.


Once you have done that and played with the pieces of paper on the walls to get it looking exactly how you want, you can start nailing the hooks on (you can use 3M if you prefer) and putting up the frames.

There you have it! I searched for numerous ways to do this and found this to be the best way. Hope you find this idea useful! tsj xx
Leave a Reply